


This Halloween, we’re embracing a sophisticated spooky vibe by transforming ordinary pumpkins into chic decor pieces you’ll want to keep out all year round. Inspired by our Creatures of Curiosity collection, get ready to craft on-trend leopard print and beautiful floral pumpkins for a fresh twist to your Halloween tablescape centrepiece. Whether you’re a seasoned DIY enthusiast or a crafting novice, these two projects offer a fun and easy way to elevate your autumn aesthetic.


Leopard Print Pumpkin
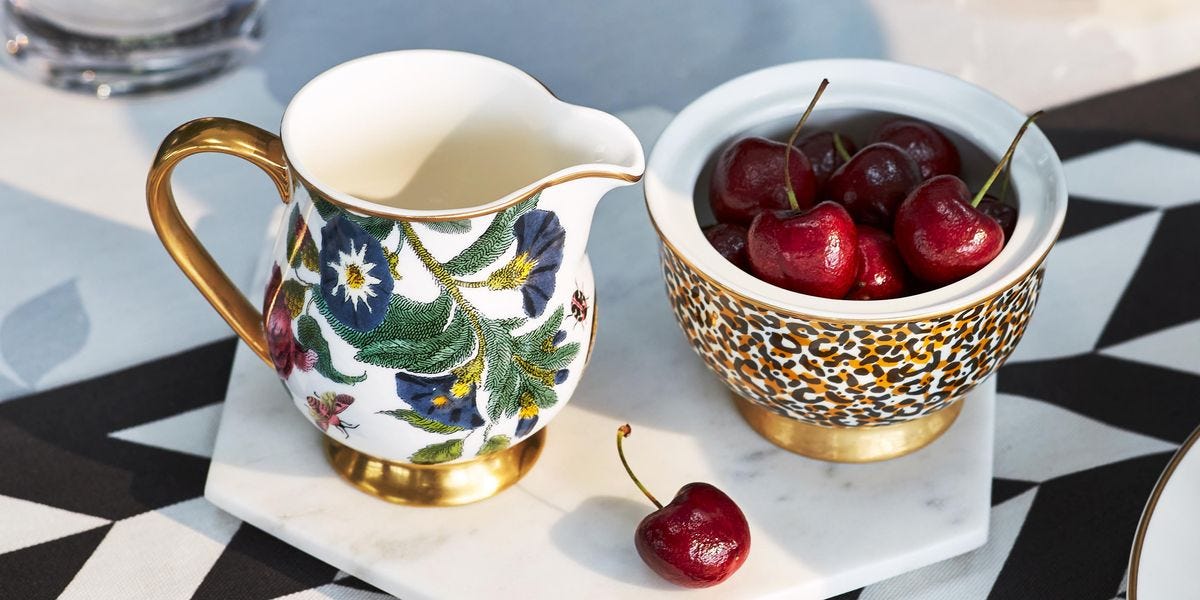
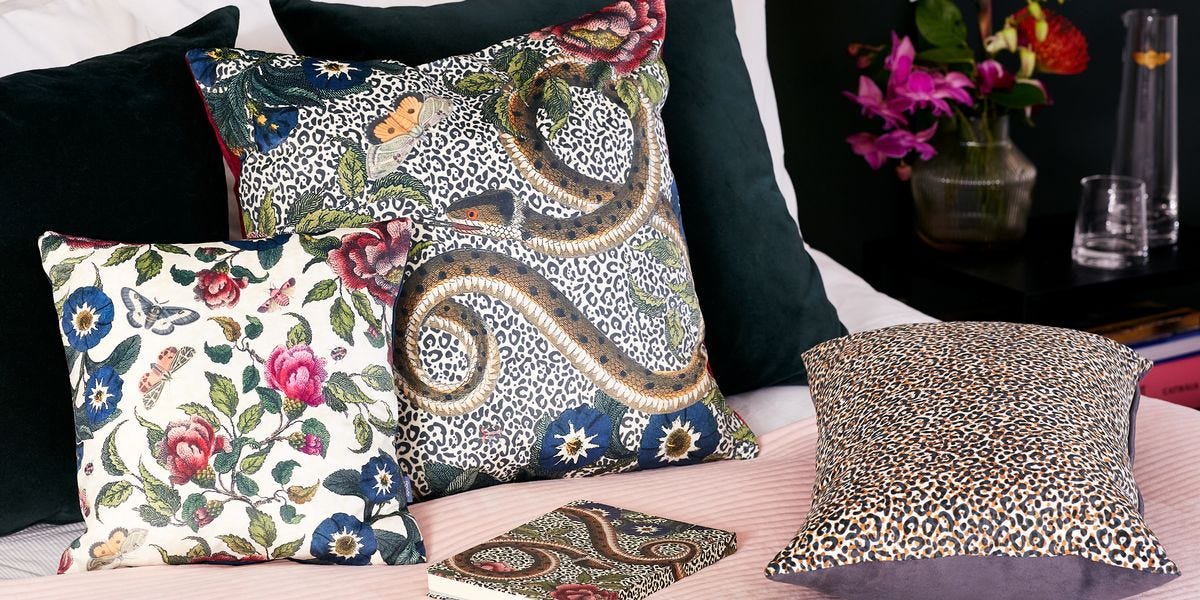
Leopard print is one of the key prints of the season (yet again) and one of the patterns featured in our mix-and-match Creatures of Curiosity collection. A design classic, the warm tones of the print work beautifully for autumn.
What you’ll need:
Pumpkins, different sizes
Leopard print tissue paper
PVA Glue
Small paint brush
Scissors
Method:
Step one: Wipe down the pumpkin you want to decorate, removing any loose dirt and creating a clean surface.
Step two: Tear the tissue paper into large sections, enough to cover the pumpkin. Brush the entire pumpkin with a layer of glue.
Step three: Add the tissue paper to the pumpkin in sections, making sure it’s fully covered. Use your hand to smooth out the tissue paper as you apply it, ensuring the paper doesn’t bunch or crease too much.
Step four: Once the tissue paper is adhered, carefully brush glue to the outside continuing to smooth out the tissue paper as you go.
Step six: Allow the pumpkin to dry fully – this can take up to 24 hours depending on the thickness of the glue.


Pressed Flower Pumpkin
Florals aren’t just for spring! These pressed flower pumpkins add a fresh, delicate twist to your Halloween decor, pairing beautifully with the leopard print pumpkins.
What you’ll need:
Pumpkins, different sizes
Pressed dried flowers
PVA Glue
Small paint brush
Method:
Step one: Wipe down the pumpkin you want to decorate, removing any loose dirt and creating a clean surface.
Step two: Tear the tissue paper into large sections, enough to cover the pumpkin. Brush the entire pumpkin with a layer of glue.
Step three: Add the tissue paper to the pumpkin in sections, making sure it’s fully covered. Use your hand to smooth out the tissue paper as you apply it, ensuring the paper doesn’t bunch or crease too much.
Step four: Once the tissue paper is adhered, carefully brush glue to the outside continuing to smooth out the tissue paper as you go.
Step six: Allow the pumpkin to dry fully – this can take up to 24 hours depending on the thickness of the glue.


Styling your DIY pumpkins
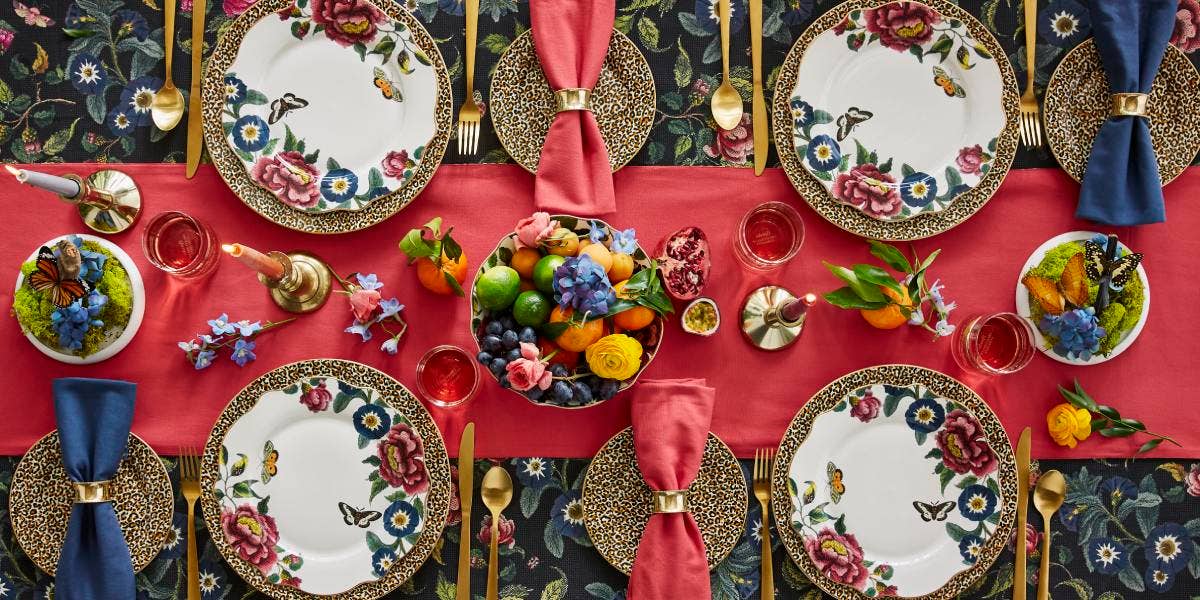
Your leopard print and floral DIY pumpkins will look fabulous styled on shelves, sideboards and fireplaces during autumn, paired alongside autumnal foliage and seasonal-scented candles. However, if you’re hosting this Halloween, they also make a wonderful tablescape centrepiece.

To recreate our Creatures of Curiosity-inspired Halloween table, gather enough pumpkins to stretch along the length of your table – we opted for different colours and sizes of real pumpkins, going for a mix of white, orange and green. Decorate some of the pumpkins using the methods above and leave some natural to intersperse in-between.
Lay the Creatures of Curiosity tablecloth down as your base, then place the pumpkins along the centre of the table, mixing and matching the different styles. Add three tapered candlesticks between the pumpkins, along with sprigs of green foliage for added texture. Small tealights can then be placed at the foot of some of the pumpkins to add an extra touch of warmth and magic.
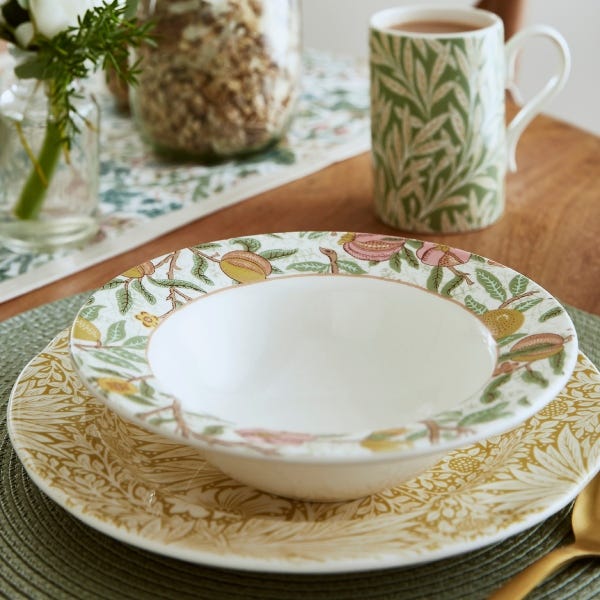
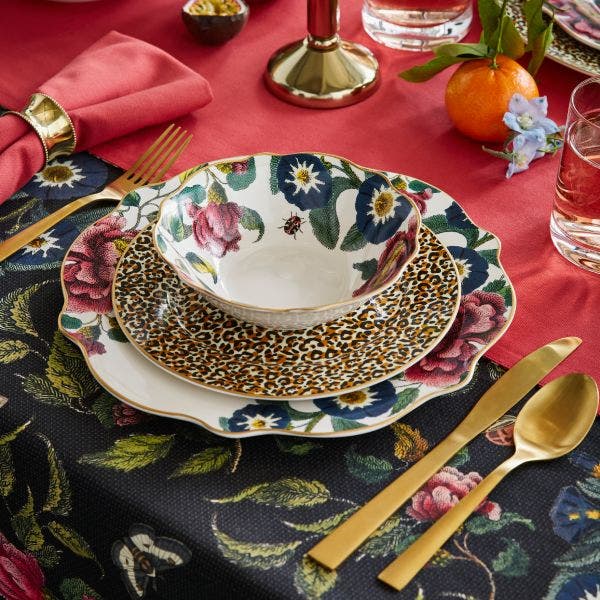
Finally set down a leopard print serving plate at each place setting and layer a floral dinner plate on top. To the left of each setting add the leopard print napkins in pink and blue and tuck the gold cutlery inside. Light the candles and invite your guests to enjoy!